Blink the built-in LED
The 'Hello World' of the Arduino
This is the 'Hello World' of the Arduino. Most Arduino boards have a built-in LED. We can write some code to get it to blink.

Start the Arduino IDE
Start up the Arduino IDE. It should show a code window, something like this:

Enter the Code
Copy the code below and overwrite the code in the Arduino IDE. This code comes from the standard Arduino example code here
// the setup function runs once when you press reset or power the board
void setup() {
  // initialize digital pin LED_BUILTIN as an output.
  pinMode(LED_BUILTIN, OUTPUT);
}

// the loop function runs over and over again forever
void loop() {
  digitalWrite(LED_BUILTIN, HIGH);   // turn the LED on (HIGH is the voltage level)
  delay(1000);                       // wait for a second
  digitalWrite(LED_BUILTIN, LOW);    // turn the LED off by making the voltage LOW
  delay(1000);                       // wait for a second
}
Check the Code
To check that the code is correct, click the verify button:

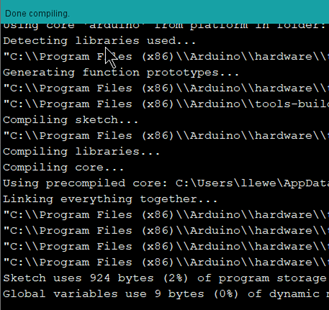
You should see lots of messages in the info window below. If everything goes well you should see a message “Done compiling”:

Upload the Code
Now we can upload the code to the Arduino. Click on the upload button:

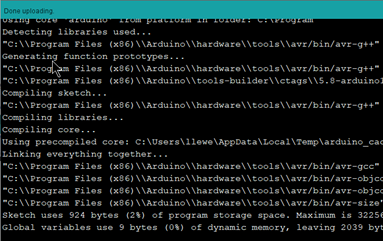
You should see lots of messages in the info window below:

If everything went well, you should see the LED on the Arduino board blinking.
How it Works
The constant LED_BUILTIN is the number of the Arduino pin that controls the on-board LED. For most Arduino boards, like the Uno and Leonardo this is D13 (digital pin 13). On a few boards it's a different pin number.
In the setup() function, we need to tell the Arduino that we will be outputting to this pin:
pinMode(LED_BUILTIN, OUTPUT);
In the loop, first we set the pin high, i.e. we send a voltage out on that pin:
digitalWrite(LED_BUILTIN, HIGH);
We then wait for 1000 milliseconds (i.e. one second):
delay(1000);
Next, we set the pin low, i.e. we turn off the voltage on that pin:
digitalWrite(LED_BUILTIN, LOW);
Finally, we wait another second:
delay(1000);
When the loop() function completes, it is immediately run again. Thus the LED will keep flashing.
Note that now the code is on the Arduino, it will remain there until you overwrite it with some different code. It will remain there even if you unplug the power. As soon as you plug power back in, the code will run again and the LED will start flashing.