
Microbit Controlled Eyes
Assemble the eyes
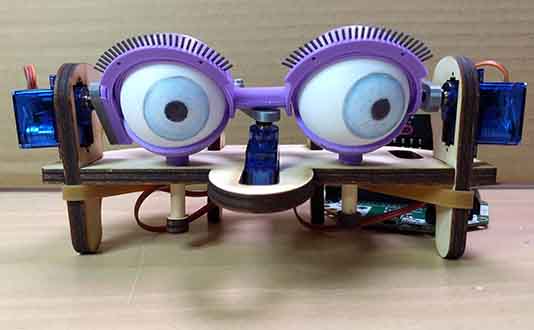
Table of Contents
Assembling the eyes
Now, we need to assemble the eyes. You can either follow the video below or follow the instructions below the video.
Assemble the head
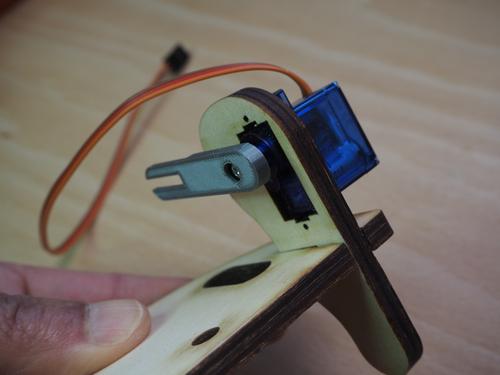
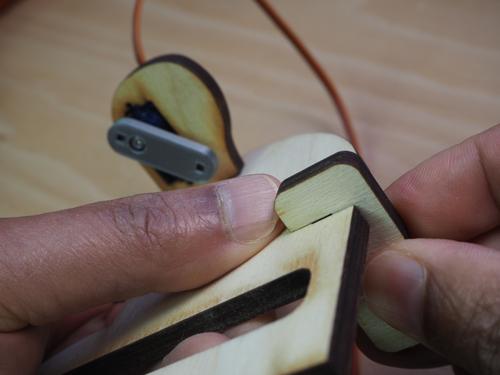
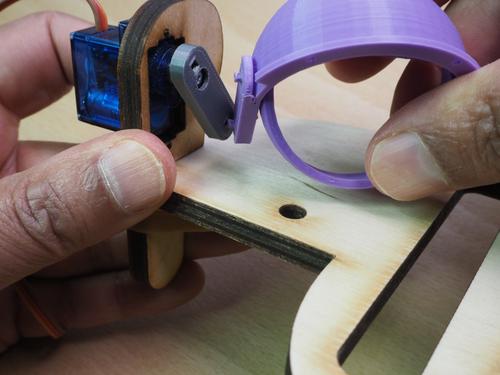
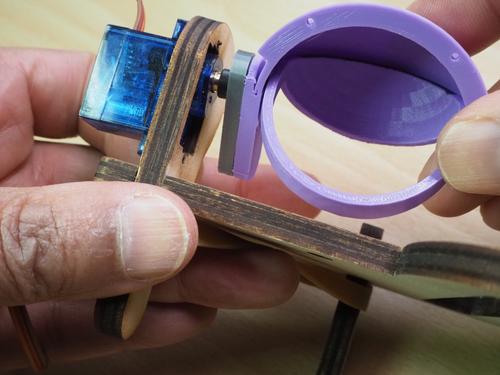
Slot the right ear into the slot in the head. The blue motor should point to the outside of the head and the grey plastic connector should point to the inside.
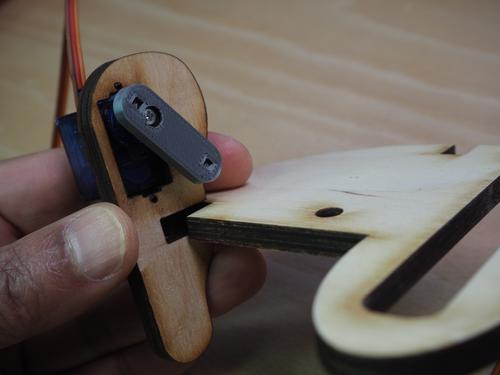
Push the ear completely in so that it is flush with the front of the head.
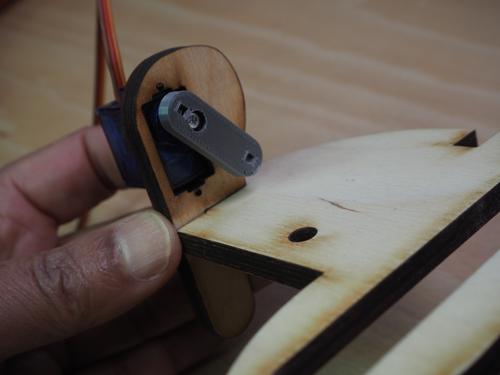
Do the same with the left ear.
Insert the head supports at the back of the head.

Use an elastic band over each ear and back support to prevent the supports coming loose.

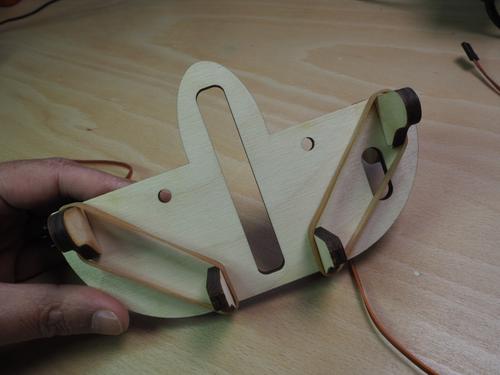
The head frame is now complete.

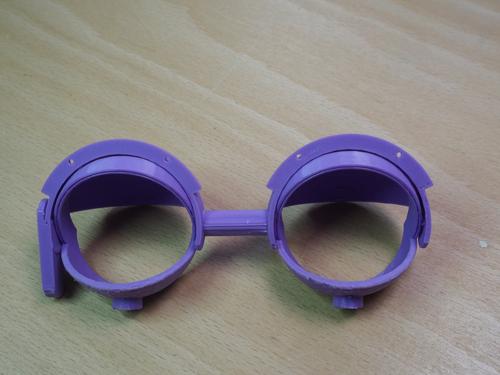
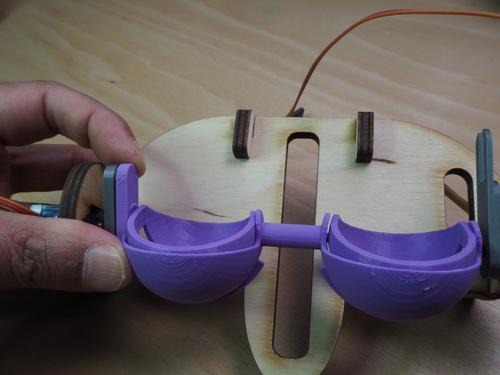
Assemble the eye sockets and lids
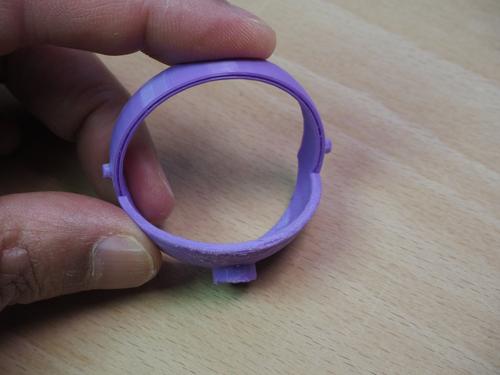
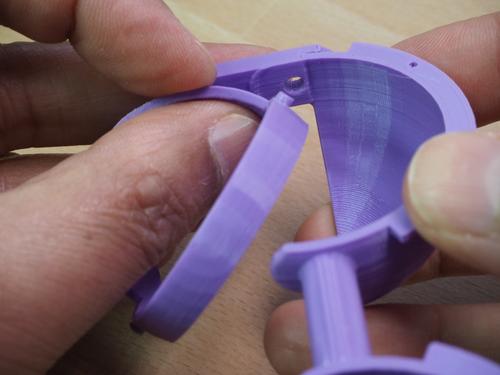
Take one of the eye sockets. Notice the black colour on the rim. This signifies the back of the socket.
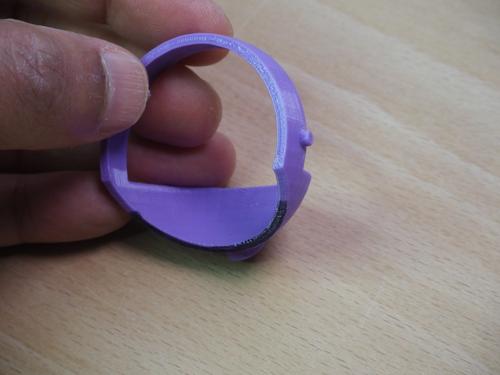
The front of the socket does not have a black line.
Check you can identify the front and back and the left and right of the eye lids. The front has the rim with tiny holes (this will allow us to connect eye lashes later). The right eyelid has a motor connector.

Insert the socket into the right side of the eye lids. Make sure the back of the socket faces the back of the eye lid.
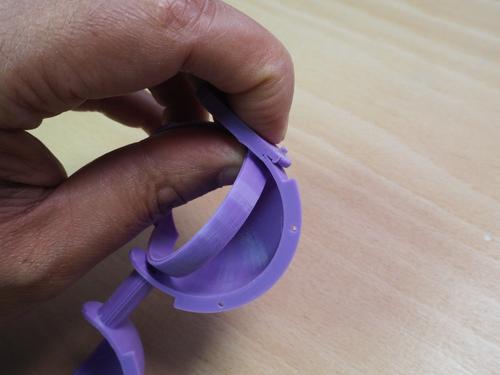
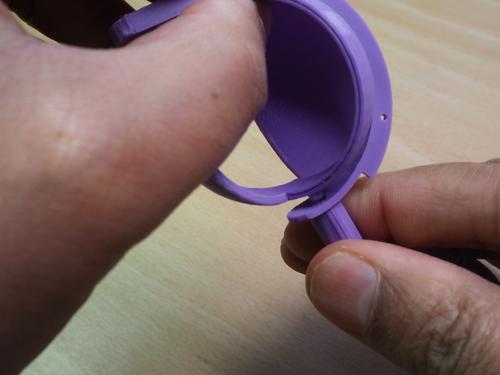
Do the same with the left socket.

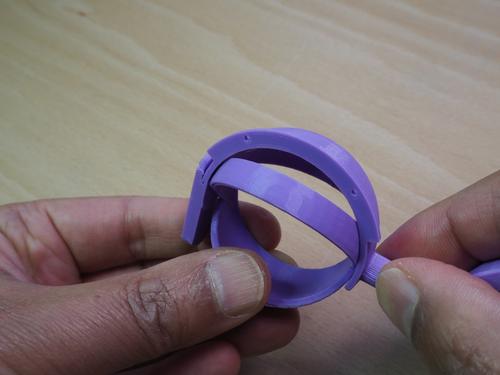
The eye lids and sockets should look like this when complete. Remember the black line on the sockets should face the back.
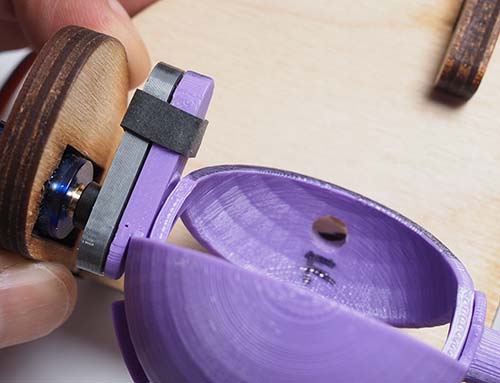
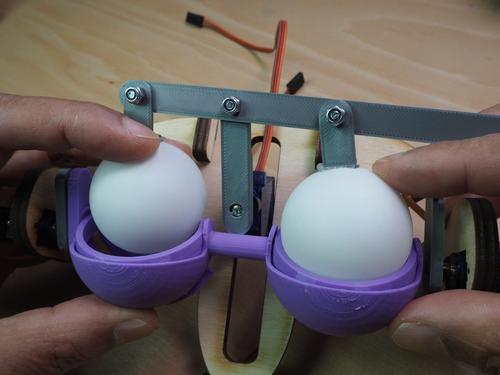
Attach the eye sockets and lids to the head
Connect the left eye lid to the motor on the left ear.
You can use the little elastic band to hold them together:
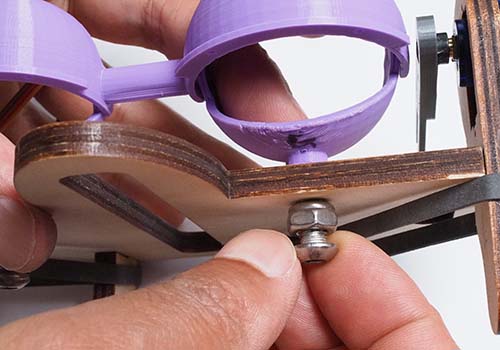
Align the hole in the wooden head with the hole in the right eye socket.
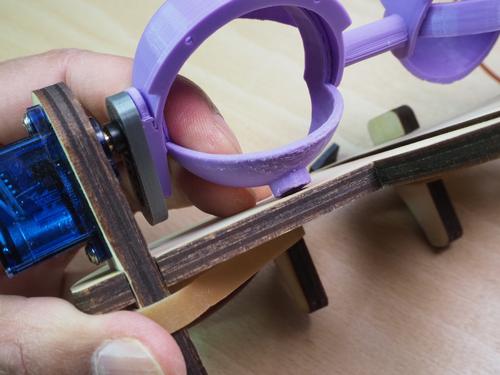
Insert a nut-bolt assembly through the hole in the wood and screw clockwise into the hole in the eye socket. This should secure the eye socket to the head.
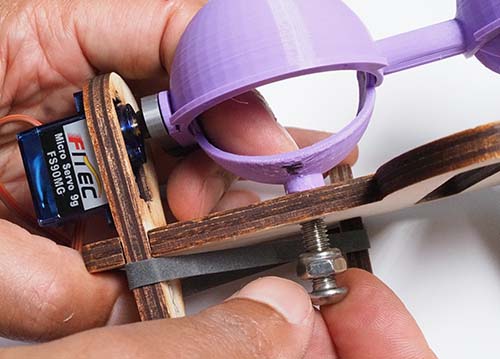
Repeat on the other eye socket.
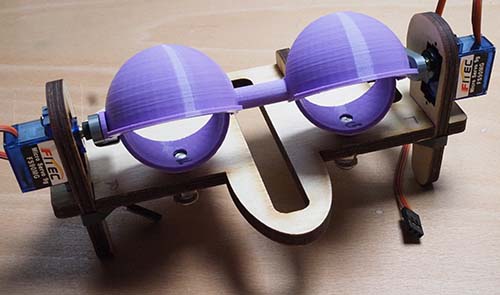
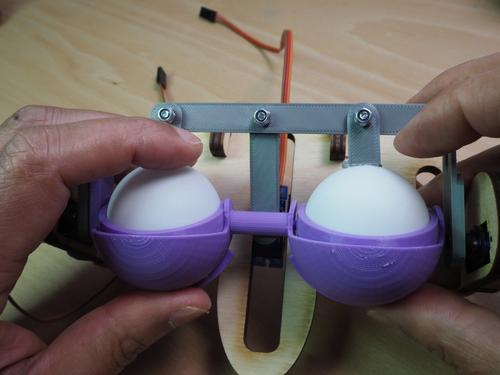
The head, sockets and eyelids should now look like this.
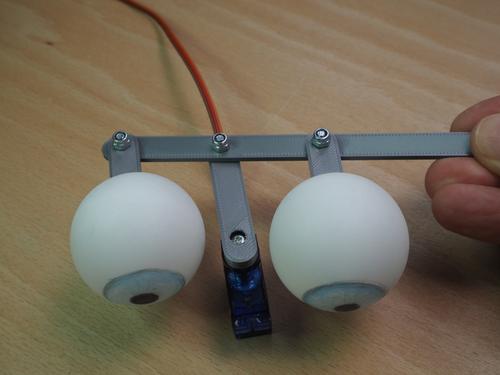
Insert the eyeballs
Take the eyeball mechanism. Make sure the eyeballs and the motor are facing you.
Open up the sockets by gently rotating the eyelids out of the way.
Line up the eyeballs with the sockets. Make sure the beam between the eyes (the one with the motor) is below the bar connecting the eye lids.
Push the eyeballs into the sockets.
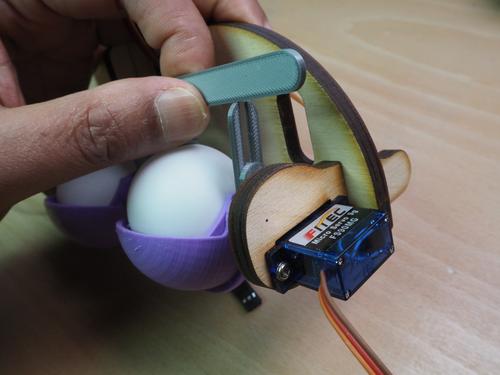
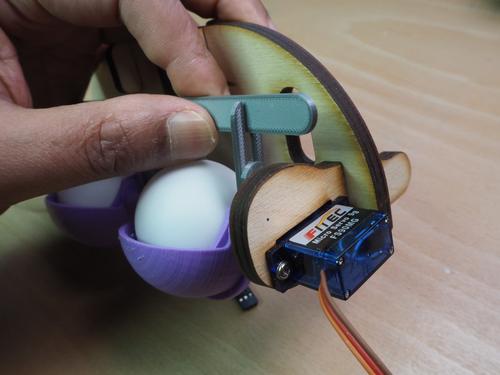
Insert the slider beam on the eyeball mechanism into the slot in the connector on the left ear.
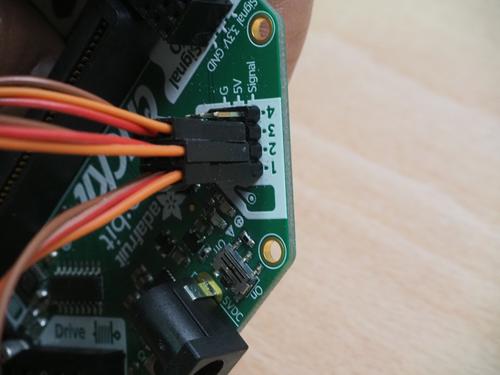
Connect the motors
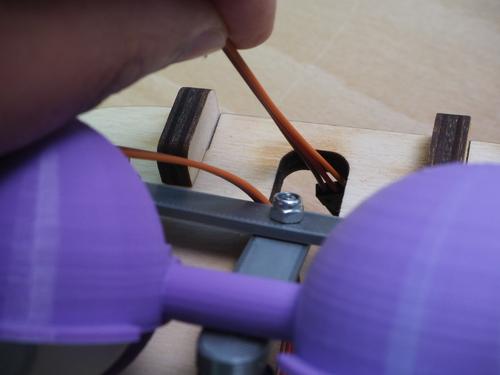
Push the wire connected to the motor between the eyes into the slot between the eyes on the head.
Identify the wires on the 3 motors. Wire 1 is connected to the motor between the eyes. Wire 2 is connected to the left ear. Wire 3 is connected to the right ear.
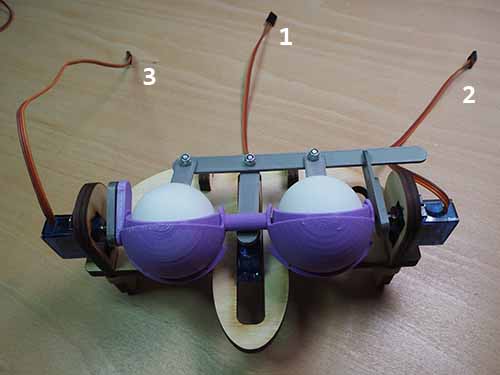
Insert wire 1 into pin 1 on the Servo block on the Crickit. Make sure the orange wire faces outwards.
Repeat with wires 2 and 3, connecting to pins 2 and 3 on the Servo block of the Crickit.
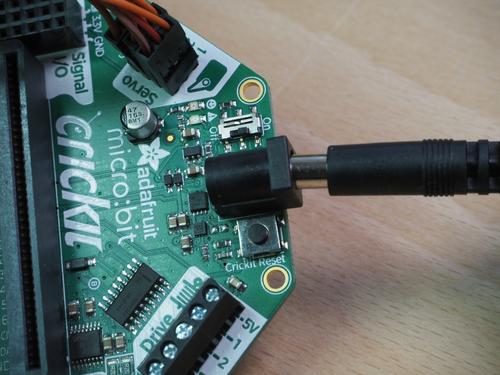
Power the Crickit
Insert the barrel jack on the USB barrel jack cable into the Crickit.
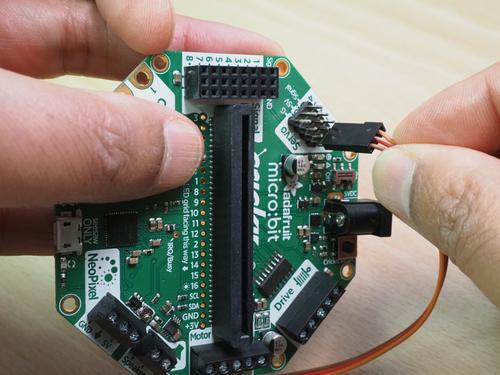
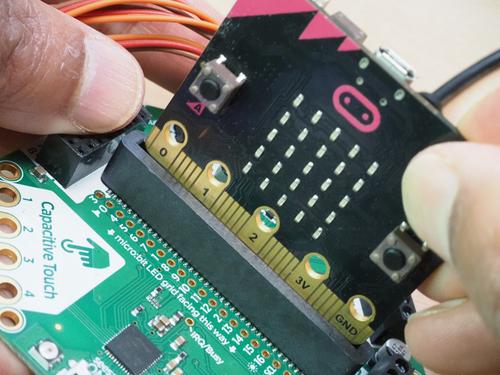
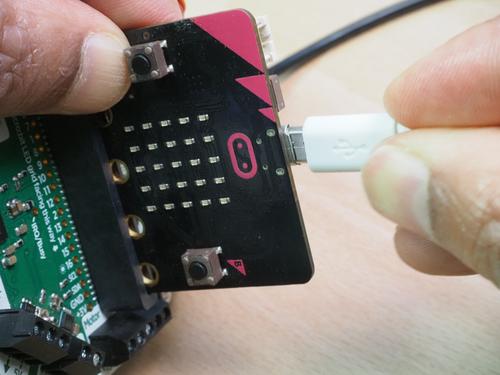
Insert the microbit
Insert the microbit (the one that is not marked as the CONTROLLER) into the Crickit. Note that the LEDs need to face towards the side that has the capacitive touch sensors.
Insert the small end of the USB micro cable into the microbit. Insert the other end into the USB port on your computer or a USB charger.
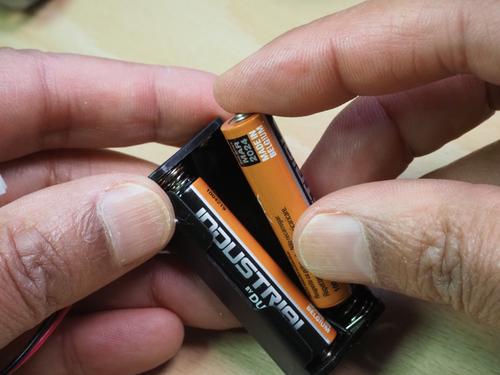
Assemble the controller
Insert the AAA batteries into the battery holder.
Insert the connector from the battery holder into the power connector on the microbit that is marked as the controller.
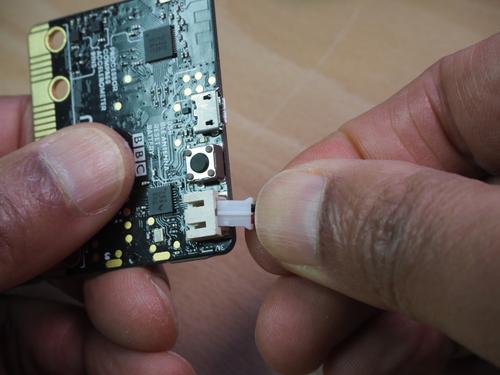
Table of Contents
©2025 - Think Create Learn Ltd