
Microbit Crawling Robot Activity
Assemble the robot
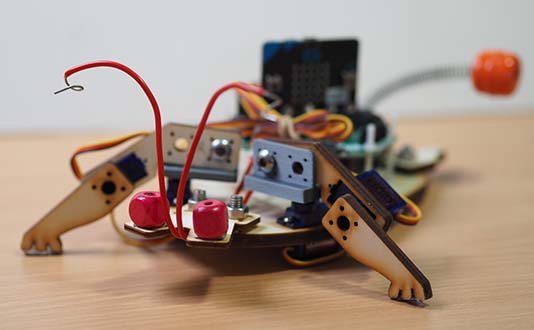
Table of Contents
Assembling the robot
Now, we need to assemble the robot. You can either follow the video below or follow the instructions below the video.
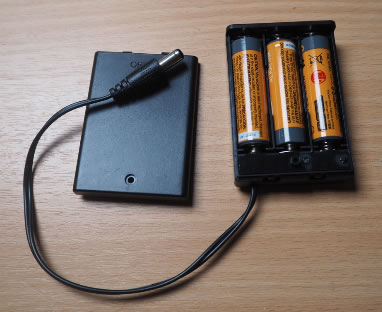
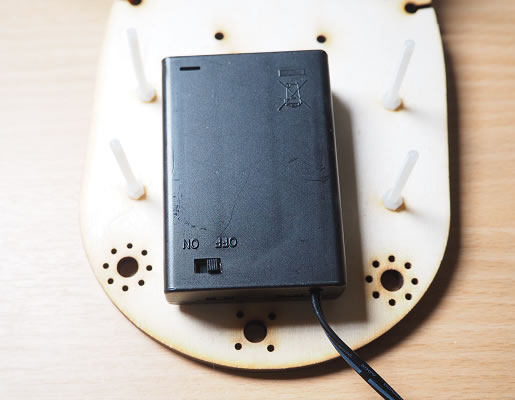
Insert the batteries into the battery box
Install 3 AA batteries into the battery box. If your battery box has a cover, use it. Some battery boxes also have a switch.
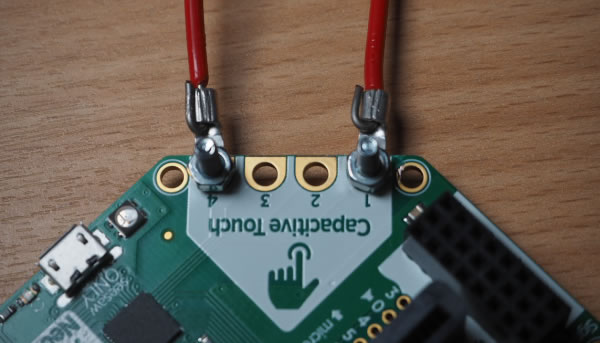
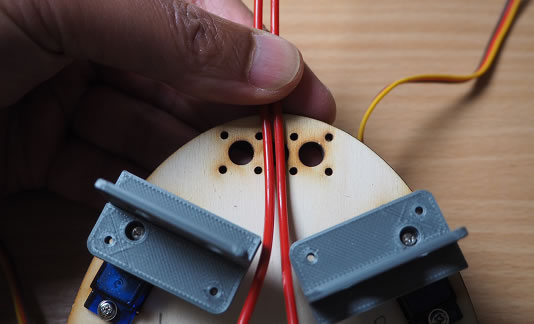
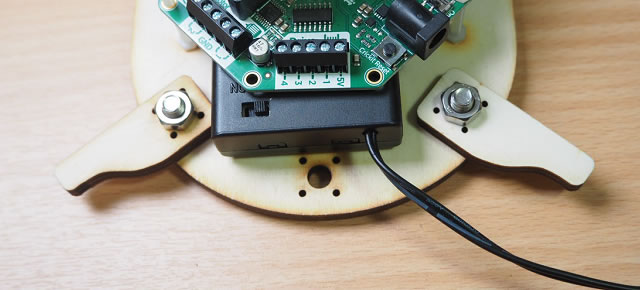
Add the antennae to the Crickit board
The Crickit board will control our motors and sensors. We will use two antennae as sensors.
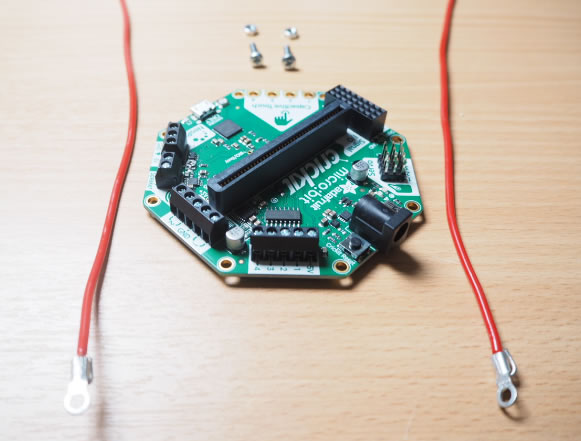
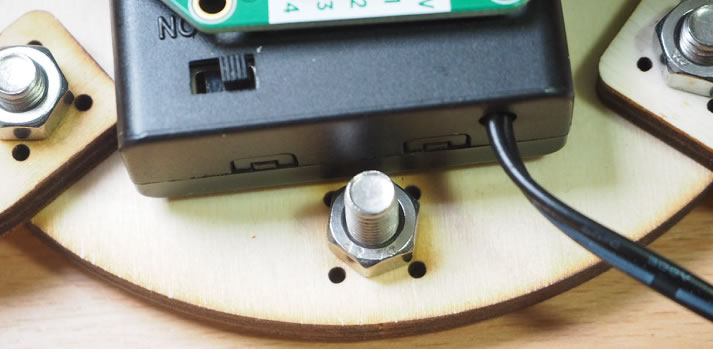
Let's attach them to the Capacitative Touch area of the Crickit. Use an M3 nut and bolt to attach each one.
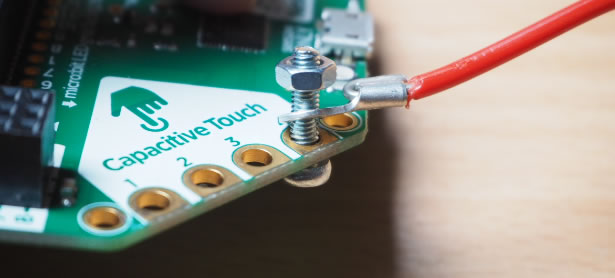
We will use pins 1 and 4. This is so we keep the connections apart, so they won't accidently touch each other.
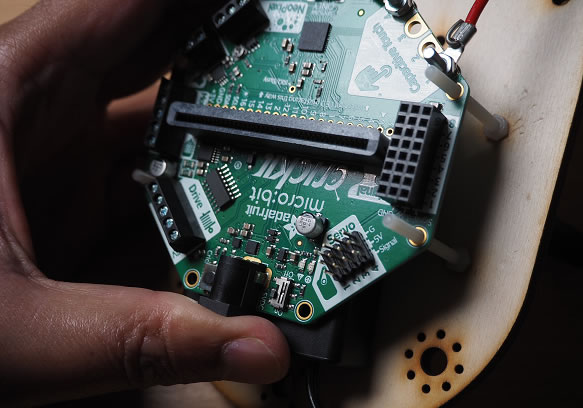
Add the battery box and Crickit to the robot body
Use a couple of blobs of Blu-tak to hold the battery box in place on the body:
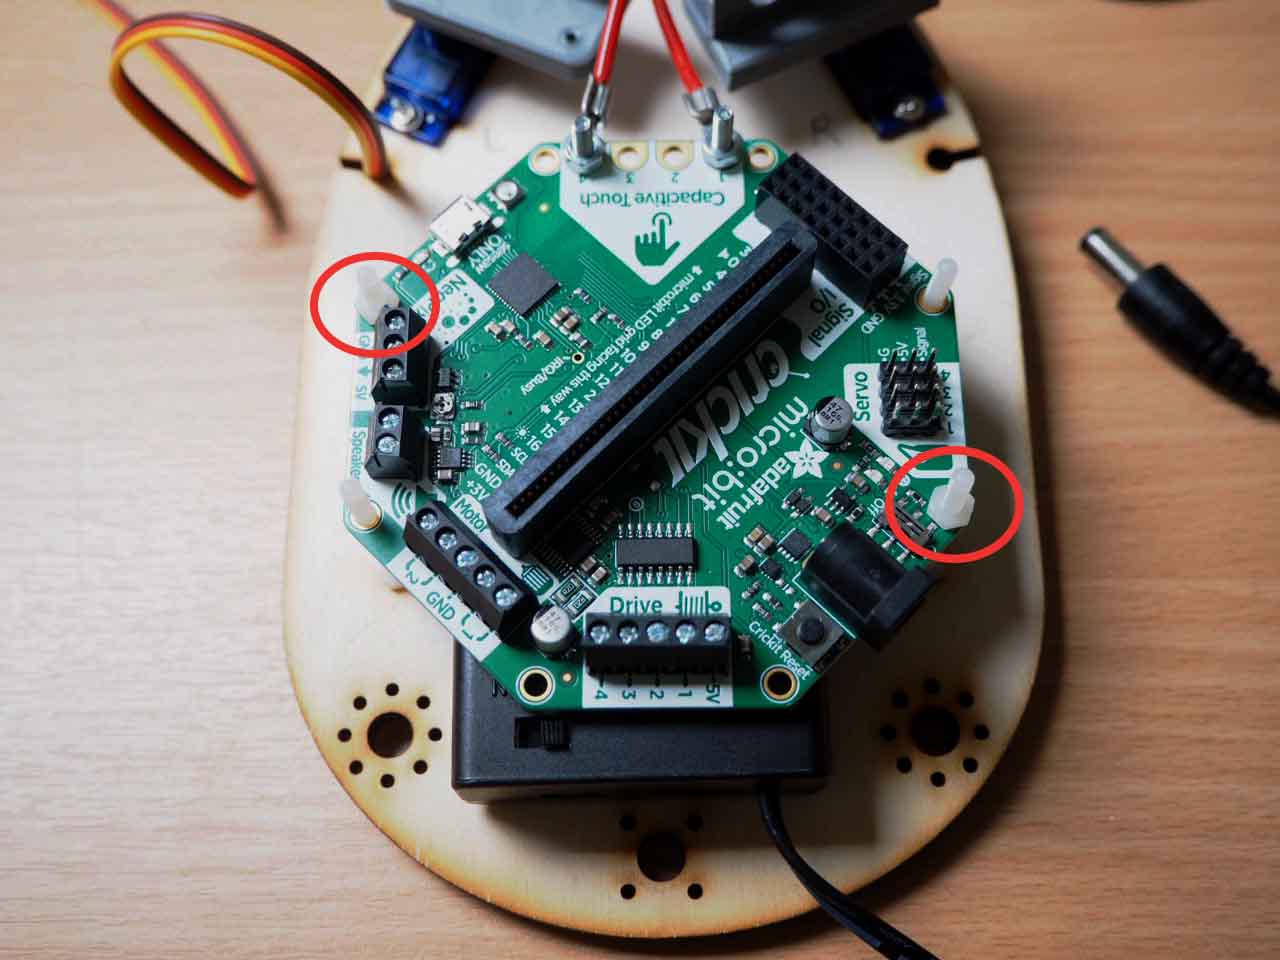
Then place the Crickit board onto the robot body, engaging with the plastic bolts
You can bend the plastic bolts a bit to help them engage.
Use two plastic nuts to hold the Crickit in place.
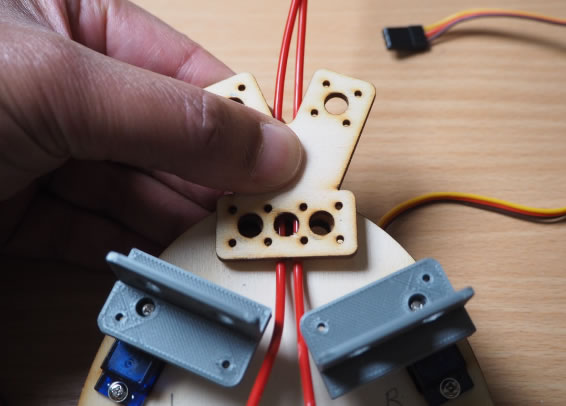
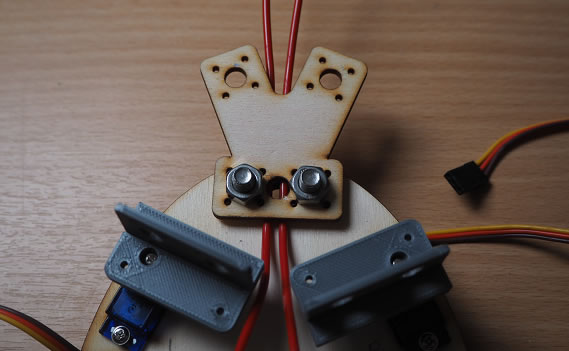
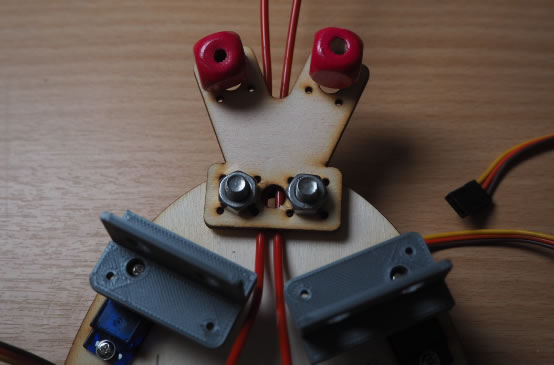
Add the head
We will now add the head of the robot. The head holds the antennae in place.
Press the antennae wires down onto the front of the body.
Place the head over the wires:
Use 2 M6 nuts and bolts to hold the head in place:
Use some Blu-tak to hold the eyes in place:
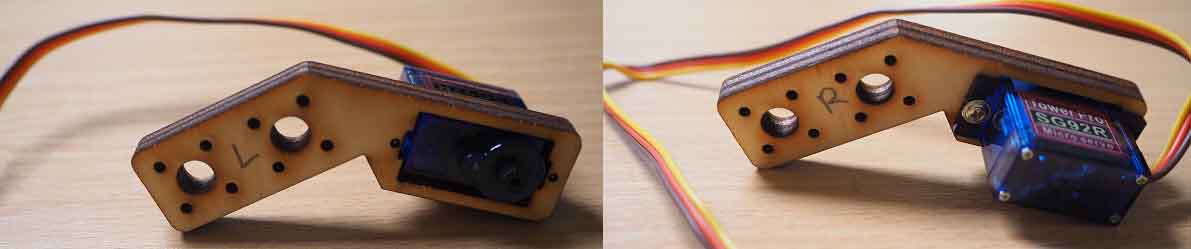
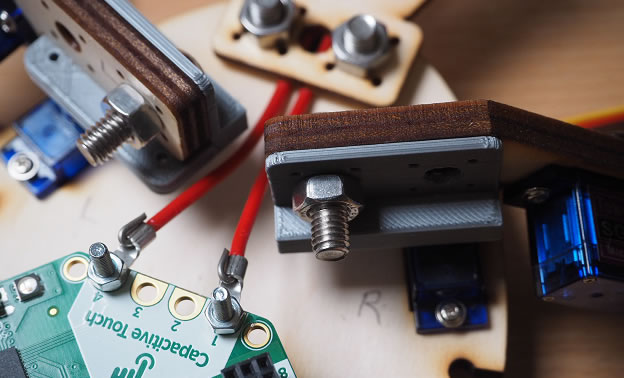
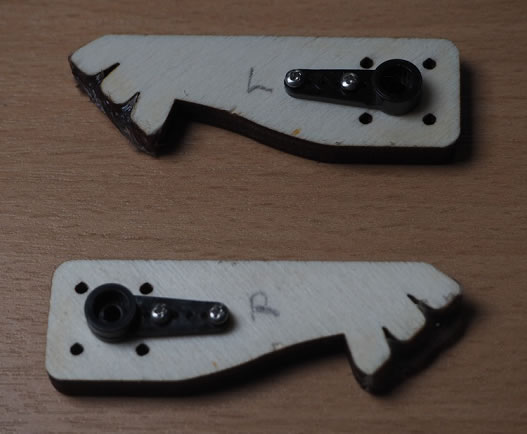
Add the front thighs
There is a left and right thigh. These are marked L and R. Use the right one on the right side!
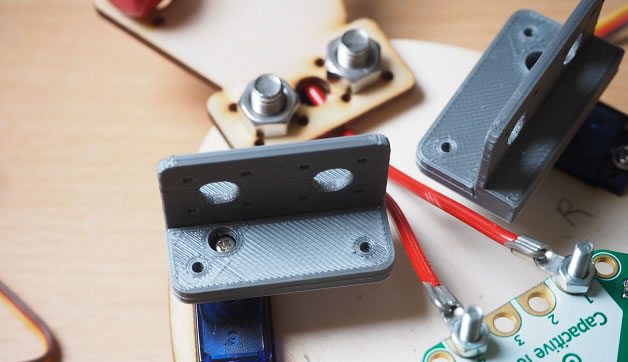
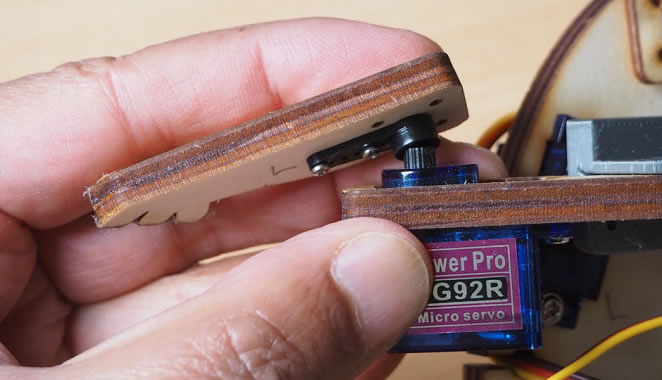
The thighs will be attached to the grey plastic connectors on the body. Note the position of the screw holding the grey connector to the motor.
Place the left thigh onto the grey connector, covering the screw.
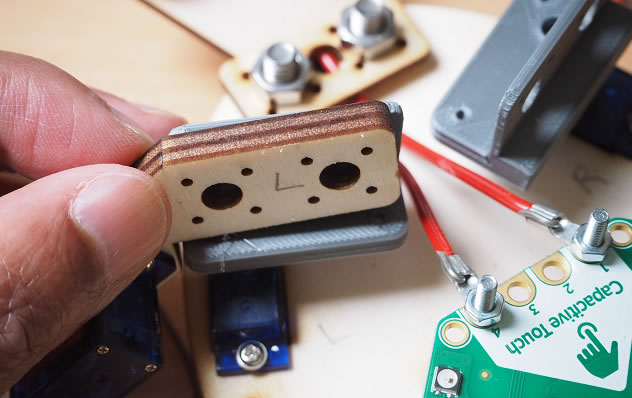
Make sure the part of the thigh with the motor is pointing downwards. Secure it with an M6 nut and bolt:
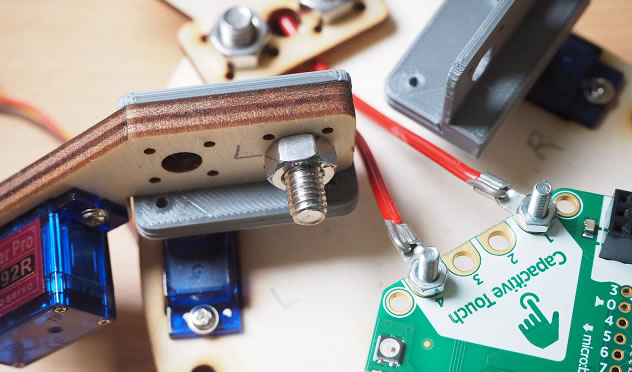
Repeat with the right thigh, ensuring again that you cover the screw. Notice how the wood and grey plastic are reversed on the right side.
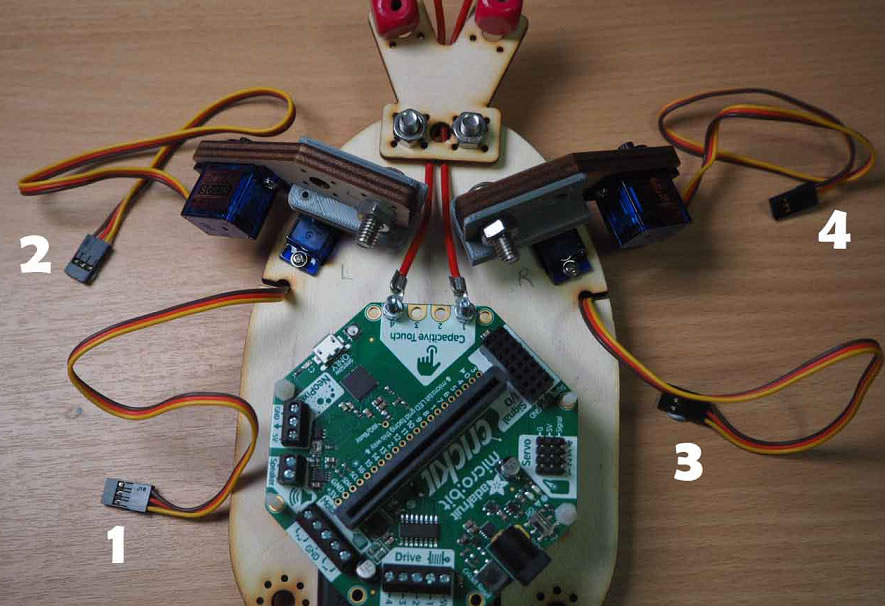
Plug in the motors
You should have 4 groups of wires, one coming off each servo motor. Each group of wires is made up of 3 coloured wires.
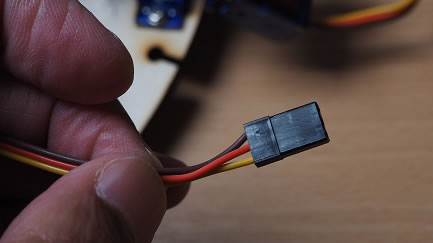
These need to be attached to the Crickit board.
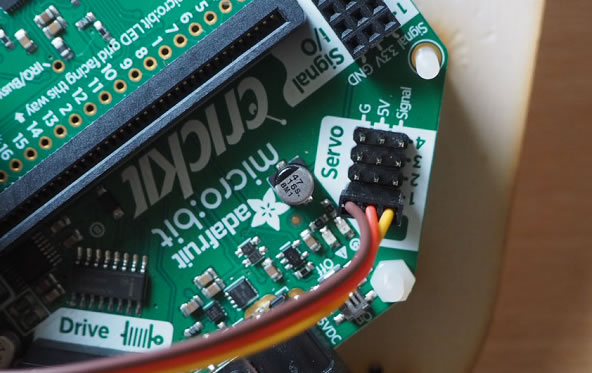
Locate the Servo section on the Crickit:
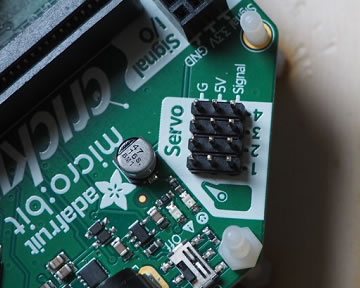
The wires must be connected in the following order, to the correct connector on the Crickit:
The wires must be connected the right way around. The yellow wire should be on the outside, aligned with the Signal label:
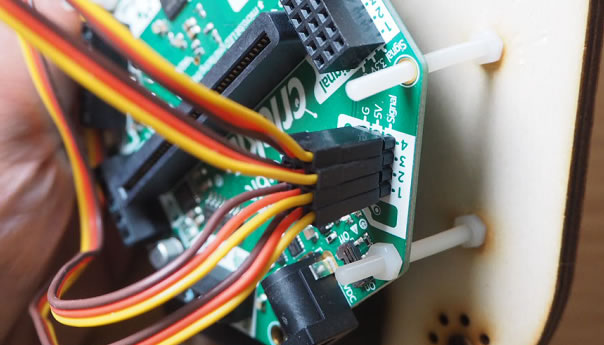
Insert the rest of the wires, remembering to place them in the right order and the right way around:
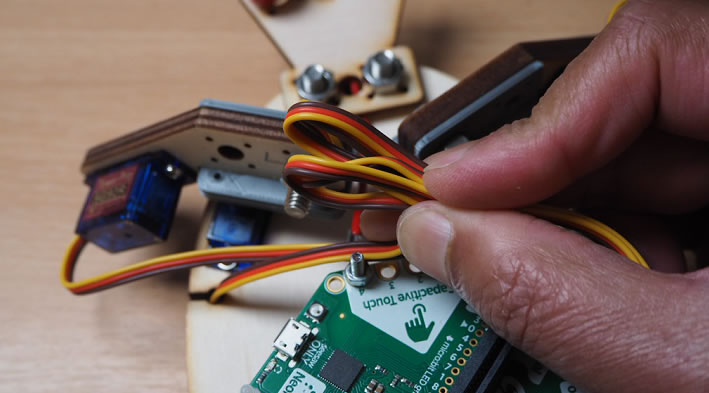
The wires will be a bit of a mess at this stage. Tidy them up into a bunch:
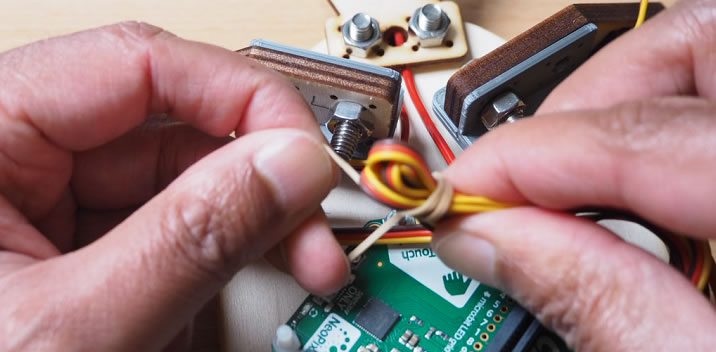
Then use the elastic band to tie them up:
Insert the Microbit
Now grab the Microbit. Notice that one side has LEDs:
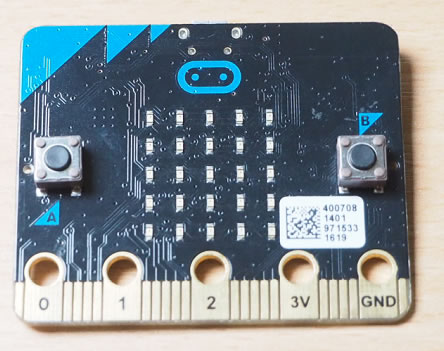
The other side has the word micro:bit:
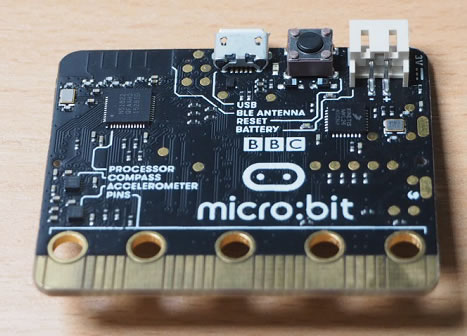
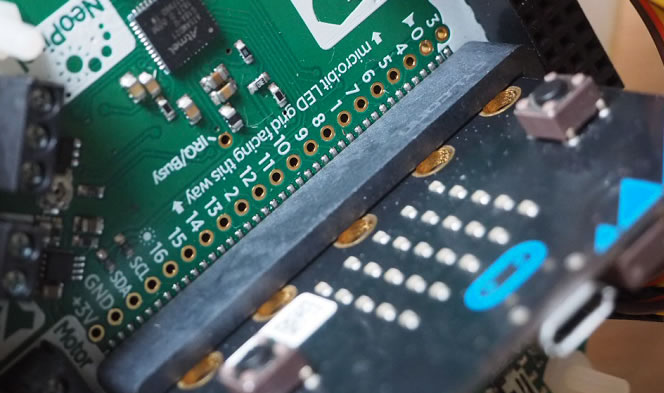
Insert the Microbit into the Crickit, with the LED side facing the left, as indicated by the wording on the Crickit:
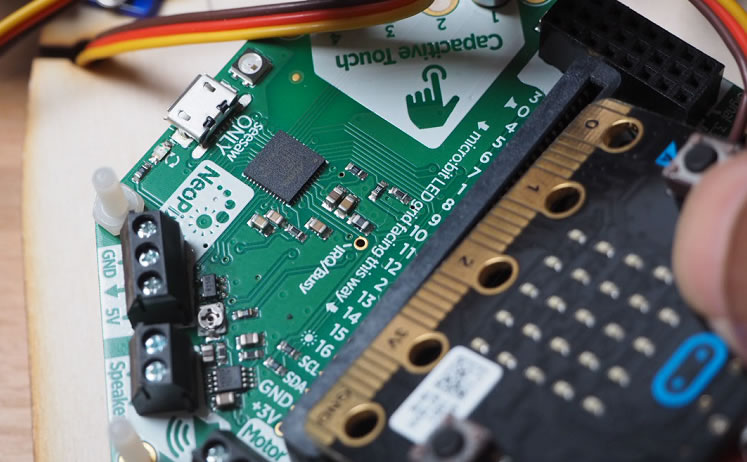
Push it all the way in:
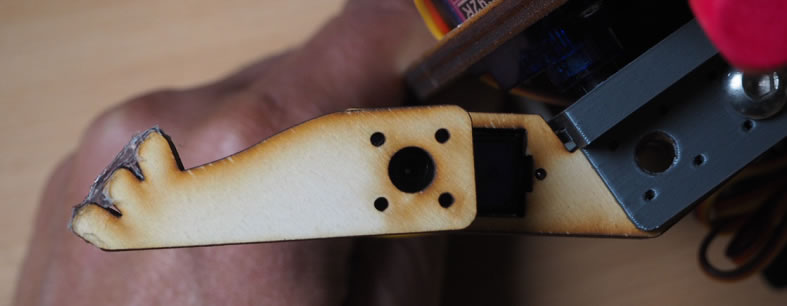
Attach the feet
There is a left and right foot:
Attach the left foot to the servo motor on the left thigh:
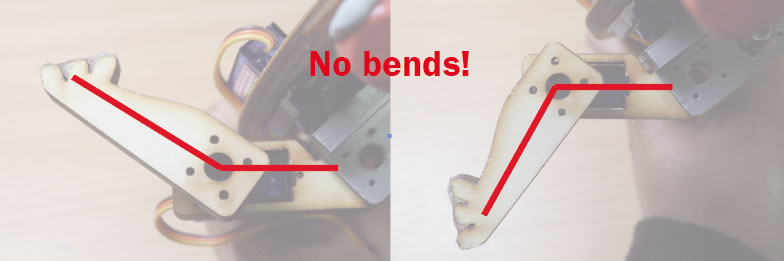
The foot should extend straight out from the end of the thigh:
Don't have the foot bent up or down:
Rear legs
The rear legs are just decorative and can be attached with some M6 nuts and bolts:
Tail
The tail is also just decorative. Use an M6 nut and bolt to attach it:
The spring just rests loosely on the bolt:
Attach the wooden bead, using a little Blu-tak if needed to hold it in place:
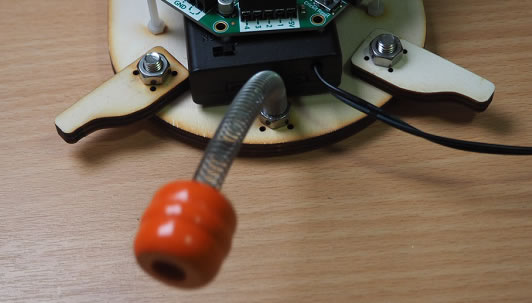
Table of Contents
©2025 - Think Create Learn Ltd