
Ptoinkk!
Assembly

Table of Contents
Assembling the Start-to-Finish game
Now, we need to assemble the game. Ultimately, it's up to you how to create your game. You can create your own layout and your own rules. I'll first show you how to create a basic start-to-finish timed game. You can then experiment with your own options. I'll provide some guidance at the end for your experiments.
Here's a little video of the game:
The game uses a variable called status, which changes as the switches get pressed:
| Status | LED Colour | Meaning |
|---|---|---|
| RESET | Red | Game is reset back to the start |
| READY | Yellow | Green switch is pressed, ready to start the counter |
| STARTED | Green | Green switch is released, the counter has started |
| FINISHED | Purple | Purple switch is pressed, game over and counter stopped |
The coding involves checking what status the game is currently in and changing it as the switches are pressed.
Design the layout
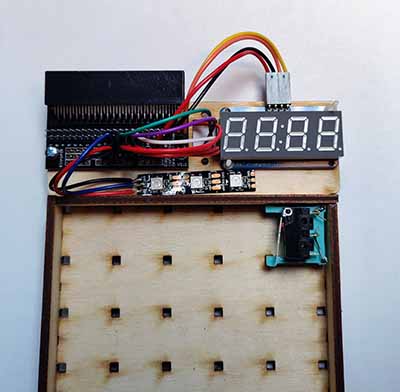
Place the green switch block at your start position. Make sure the switch lever is pointing inwards. Press the switch gently to secure it:
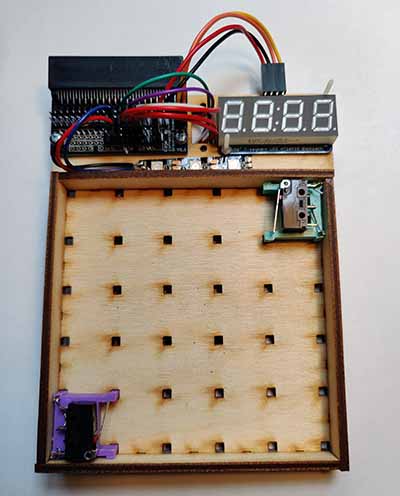
Place the purple switch block at your end position. Make sure the switch lever is pointing inwards:
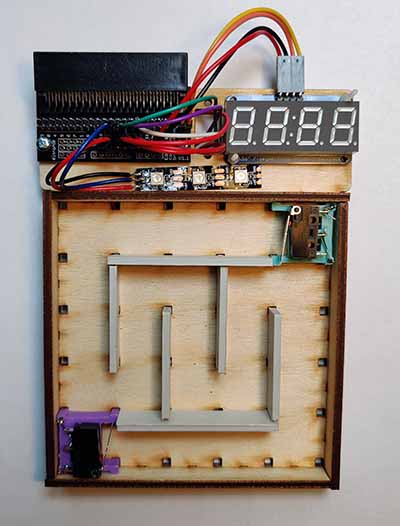
Build some walls between the two switches, so that there is a path between them:
Connect the switches
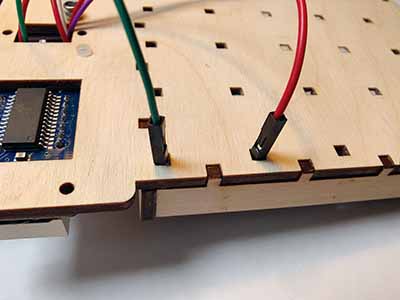
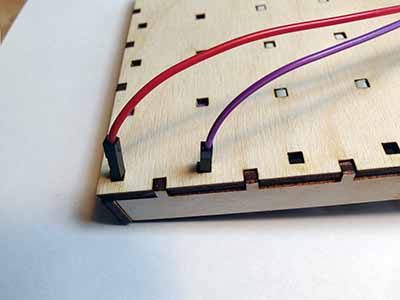
On the back of the game board you will find some wires. These are for connecting the switches. Each switch needs a red wire and a matching coloured wire.
When you connec the wires, hold the switch from the other side so it doesn't fall through!
Connect the green switch using one green wire and one red wire:
Connect the purple switch using one purple wire and one red wire:
Insert the microbit
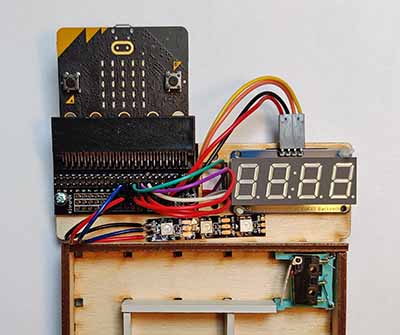
Plug the microbit into the holder like this:
Insert the small end of the USB micro cable into the microbit. Insert the other end into the USB port on your computer or a USB charger.
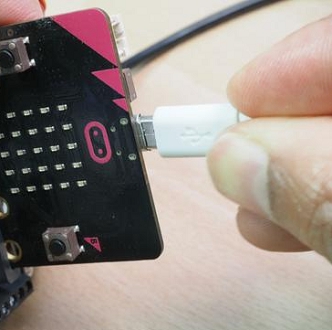
Table of Contents