
Ptoinkk!
Coding
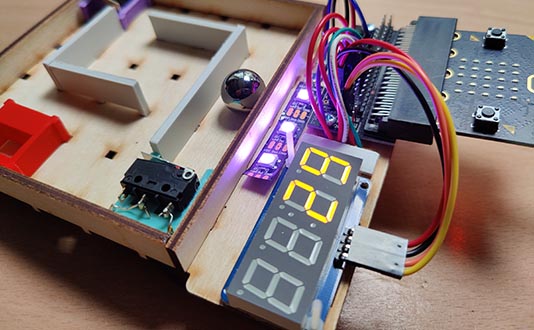
Table of Contents
Coding the Start-to-Finish game
Start up the MakeCode editor
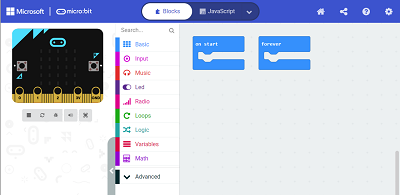
We will be coding use MakeCode. We can drag and drop code blocks to build up our program. Nice and easy!
MakecodeYou should see the following:
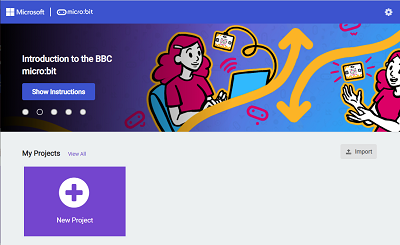
Click on the New Project in the top right. Give the project a name:
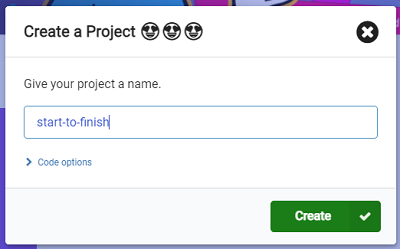
Click Create and you will see the code editor:
Add the numeric display extension
You need to add an extension to be able to program the numeric display. Click on Advanced:

Then click on Extensions:
Then enter github:lewfer/mb-numeric-led and hit return:
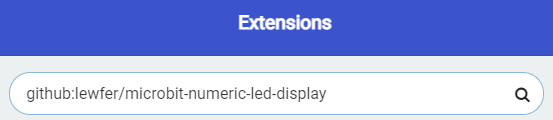
You will see the extension:
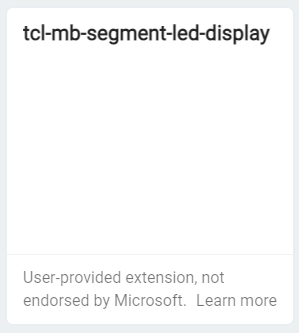
Click on it and you will see the Numeric LED extension added:

Add the neopixel extension
You will need to add another extension to use the multi-coloured neopixel lights.
Click on Advanced:
Then click on Extensions:
Then find the Neopixel block:
Click on it and you will see the Neopixel extension added:
Code the start block
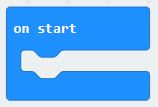
Locate the on start block:
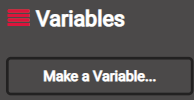
First, you will need to create a variable. Locate the Variables block:

Click on the Make a Variable button:
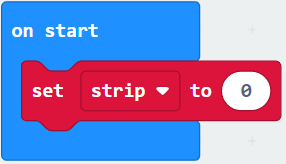
Then make a variable called strip:

Now you can click on the set strip block:

and drag it into your on start block:
Now add code to set up the neopixel strip to show 3 red pixels. You can find the required code blocks in the Neopixel and Variables menus:
Add the code to set up the variables:
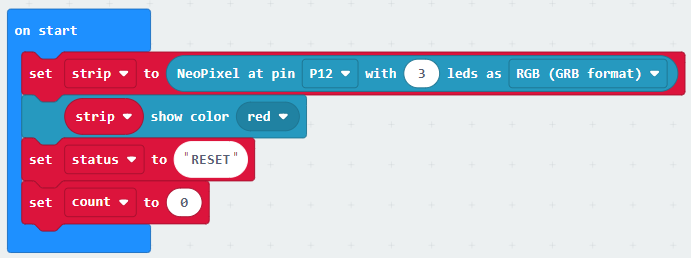
Note that to enter the text "STATUS" you need to first insert a text block from the Text menu:


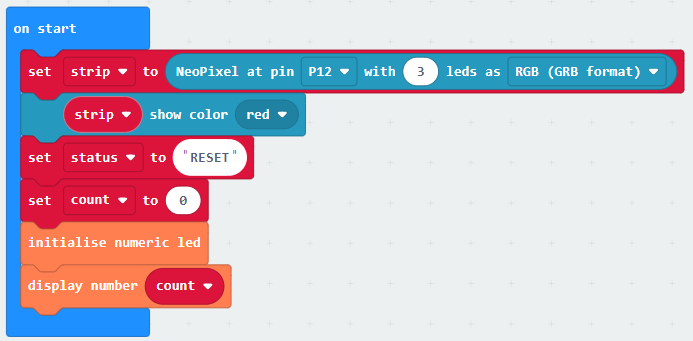
Add the code to show the initial count on the display:
Code the forever block
Locate the forever block:
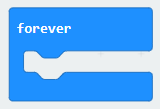
Add the logic for the different statuses that the game will have. We use an if..else if block to check if the game is in each state:
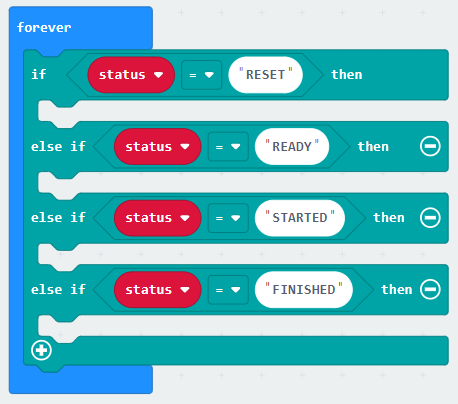
Note that to enter the text in the condition you need to first insert a text block from the Text menu:
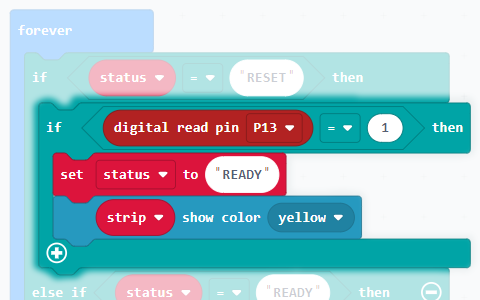
Add the code to move from the RESET state to the READY state. Pin 13 is the pin used by the green switch block. We will check if this switch is pressed and if it is then the game is ready:
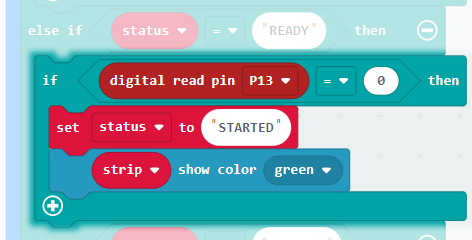
Add the code to move from the READY state to the STARTED state. The game starts when the green switch is released:
Add the code to run when the game is started. When the game starts, we want to start counting and displaying the count. When the purple switch is pressed (pin 14) we can set the game state to FINISHED:

Add the code to run when the game is finished. When the game is finished we change the colour of the neopixels:

Code the reset
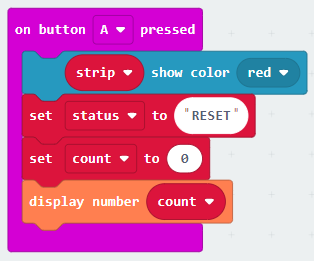
You will want to be able to reset the game, so that you can play again. Let's code the A button on the Microbit to reset the game. Build the following code block, which looks very similar to the code we entered in the on start block:
Complete code
If you have completed all of the above steps, your code should look like this:
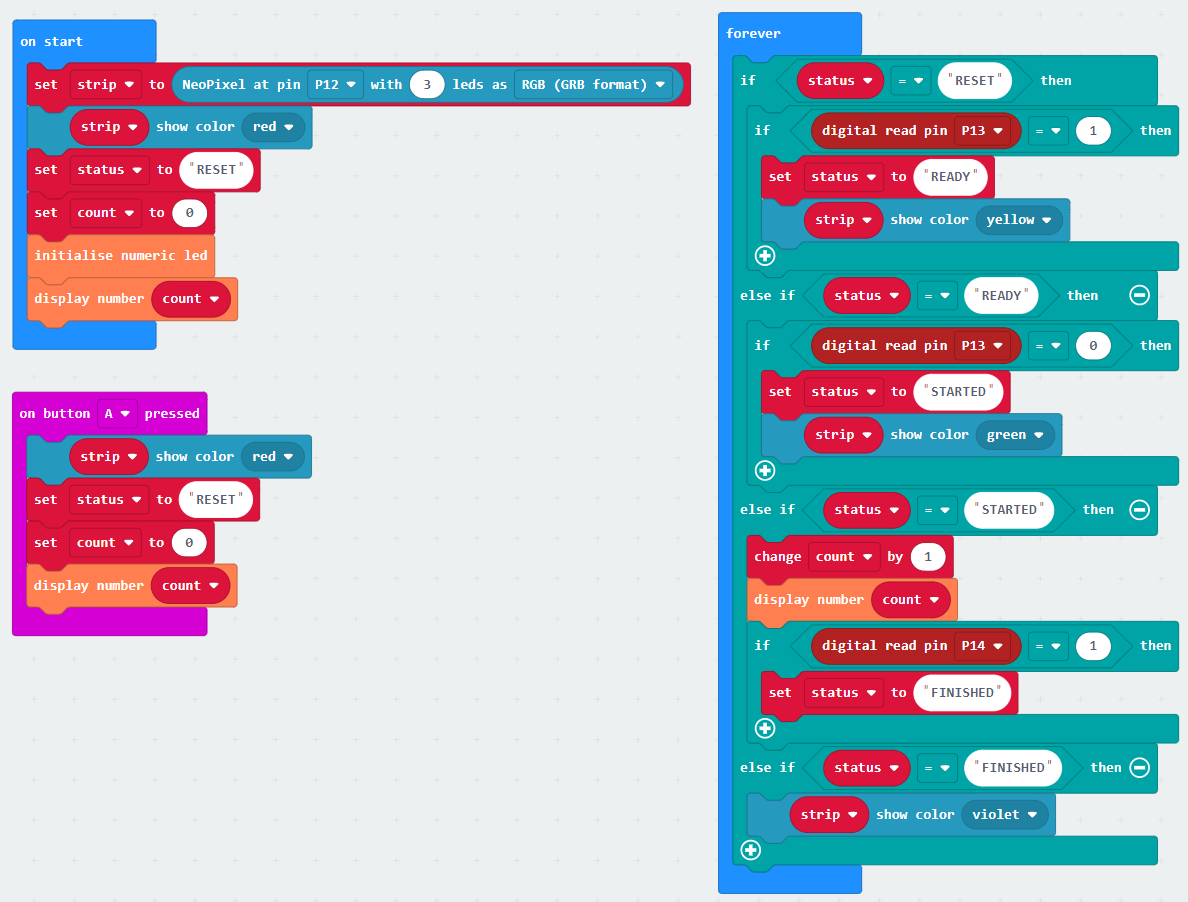
Download it onto the Microbit and run it.
Troubleshooting
If you have trouble connecting the microbit see here for details.
Table of Contents
©2025 - Think Create Learn Ltd