
Ptoinkk!
Coding challenges
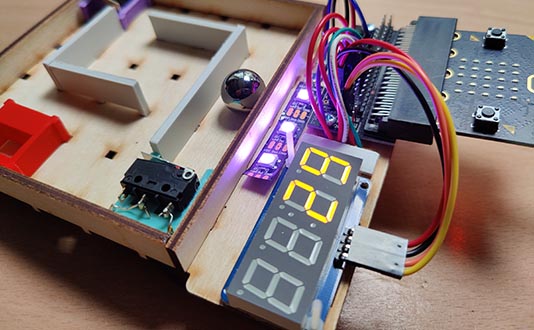
Table of Contents
Options
Getting good at coding is all about experimenting. Here are some things for you to try out. Can you use these techniques to improve the start-to-finish game, or even create a new game?
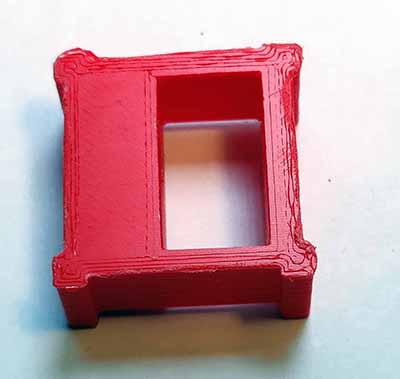
Magnet
This one doesn't need any coding! Place the magnet in the maze. If the ball gets too close to the magnet, it gets stuck and the player cannot move.
Additional switch
In the start-to-finish game we used the green and purple switches. There is also a white switch. Each switch is attached to a dedicated pin on the Microbit:
| Colour | Pin |
|---|---|
| Green | 13 |
| Purple | 14 |
| White | 15 |
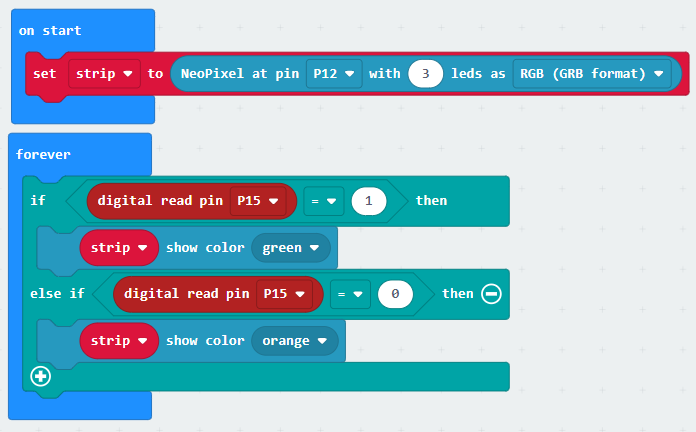
Have a look at this code, which shows how the white switch can be used to change the leds colour:
Coding a score
Keeping score is a critical part of many games. You can use a variable to keep track of a score in your game.
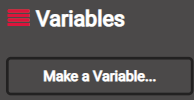
Create a variable by clicking on the Variables menu:

Then click on Make a Variable:
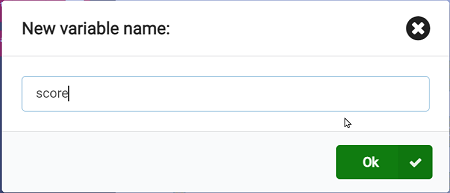
Now give the variable a name:
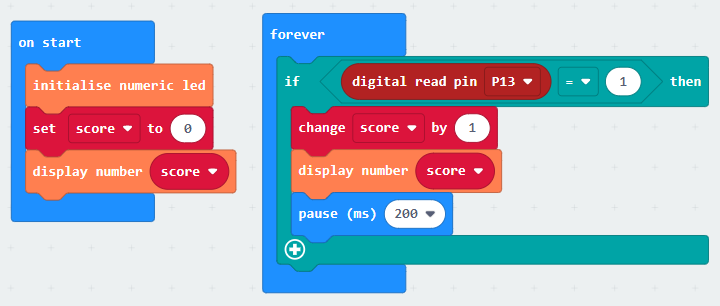
You can now use the variable. Here is an example that increases the score every time the green switch is pressed. Note that the pause block is used to wait a little after the switch is pressed to allow the switch to be released, so that the score does not increase multiple times:
Coding a countdown timer
Sometimes you want to give the player a certain amount of time to do something. For example, you could give a player 10 seconds to hit the purple switch. You can use a countdown timer for this.
Create a variable by clicking on the Variables menu:
Then click on Make a Variable:
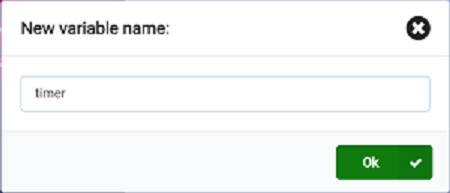
Now give the variable a name:
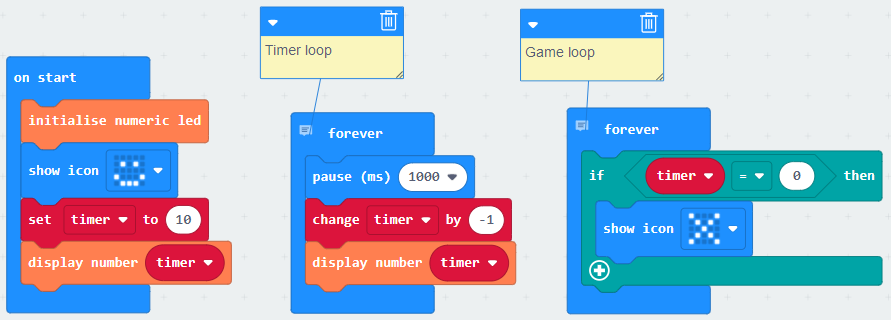
You can now use the variable. Here is an example that counts down from 10 and then shows an X on the LED display:
Coding lights
The neopixel strip can be programmed to give you some amazing light shows. Each of the 3 pixels can display a range of colours.
The best approach is to experiment with the code blocks in the neopixel menu:
Here is some code to set the individual pixels to different colours:
You can mix your own colours by adjusting the amount of red, green and blue light:
Coding sounds
The microbit has the ability to make some simple musical notes. Take a look at the code blocks in the Music menu:

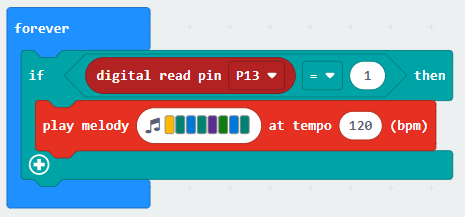
Here is some code that plays a melody when the green switch is pressed:
Coding Microbit leds
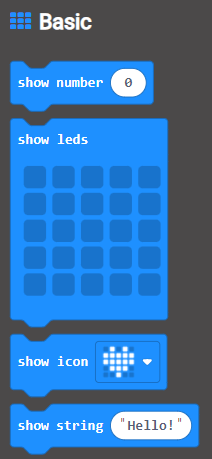
The 25 red leds on the Microbit can be coded to display shapes and numbers. The code blocks for this can be found here:

Play around with these code blocks:
Coding game states
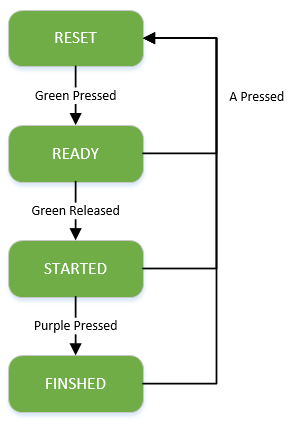
The start-to-finish game used a technique called state management. A variable is used to specify what the current state of the game is. As certain things happen the state will change. For example, when switches are pressed, or time runs out, the state can change. We can draw a diagram, called a state transition diagram to show how the state changes:
We can then code up a template for a game that matches the states:
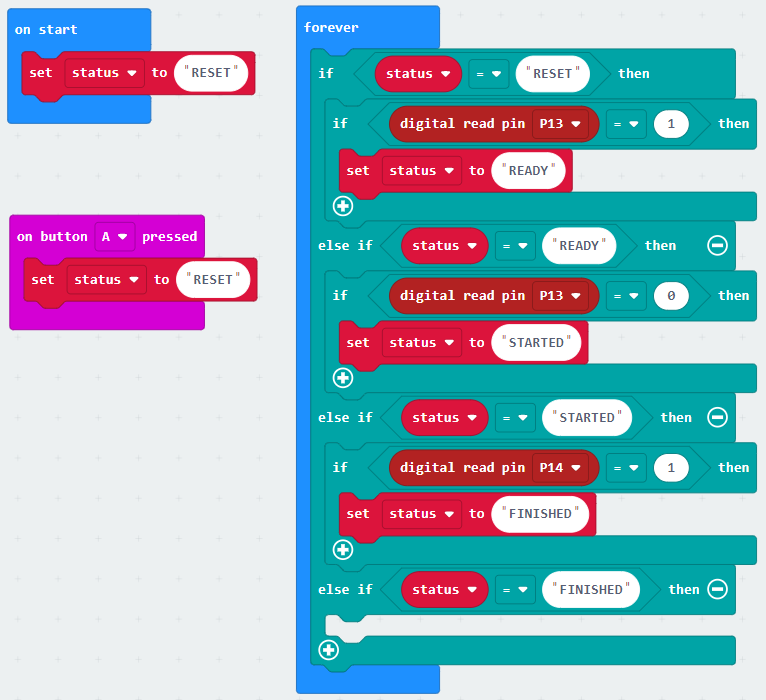
Then you can fill in the details of what happens in each state, as we did in the start-to-finish game.
Game ideas

Click-my-colour. Have all three switches, green, purple and white, on the board. Randomly light up the leds to match a switch colour. When the leds light up, show a countdown timer. The player must click each switch before the timer reaches zero. The score is the number of switches successfully clicked
Table of Contents
Make the kit
Coming soooooon!
Troubleshooting
If you have trouble connecting the microbit see here for details.
©2025 - Think Create Learn Ltd